Tips For Creating Photorealistic Images
Creating photorealistic images usually require a more complex prompt. Describe the image you want in detail. Your text prompt can follow a formula like this:
photorealistic, (Number of items), (Subject description), (Environment description), (Style), (Lighting), (Camera), (Camera settings)--v 5.1 --s 750
- Camera (choose a popular, high-end camera model, like "Sony Alpha camera")
- Camera settings (for example, "f 1.2 aperture" if you want to create a blurry background)
- Lighting (dramatic, soft, golden hour, neon, etc.)
- Perspective (from the front, top down, wide-angle, low-angle, symmetry, etc.)
- Style/type of shot (product photo, studio photo, landscape photography, portrait photography, macro photography, in the style of national geographic, etc.)
- Settings (v5.1, stylize very high)
Here are some examples with the prompts in the image caption:
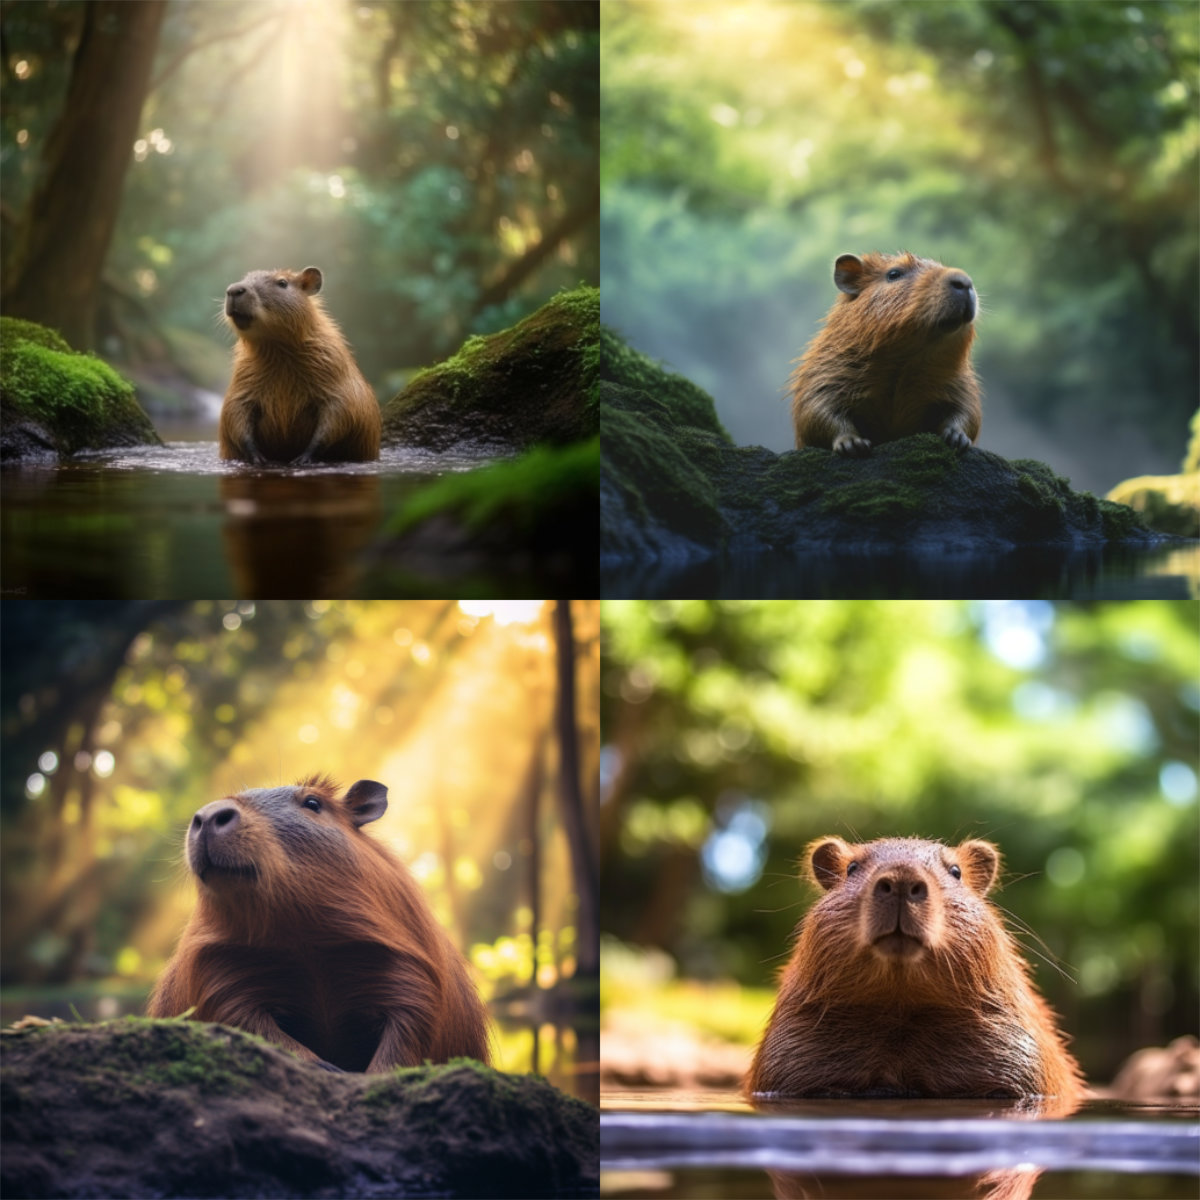
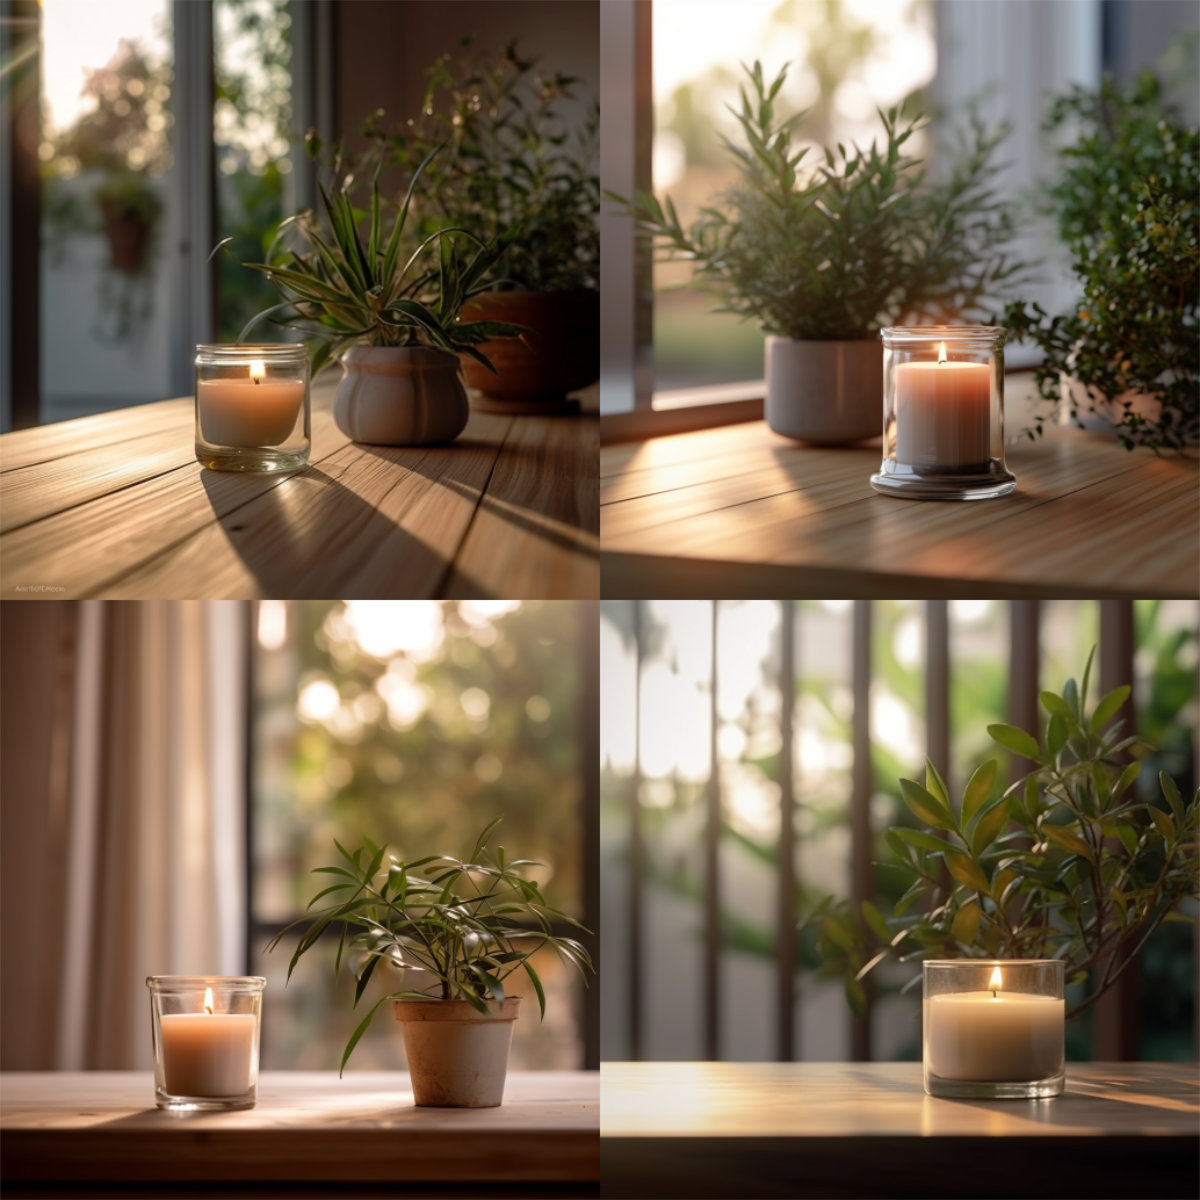
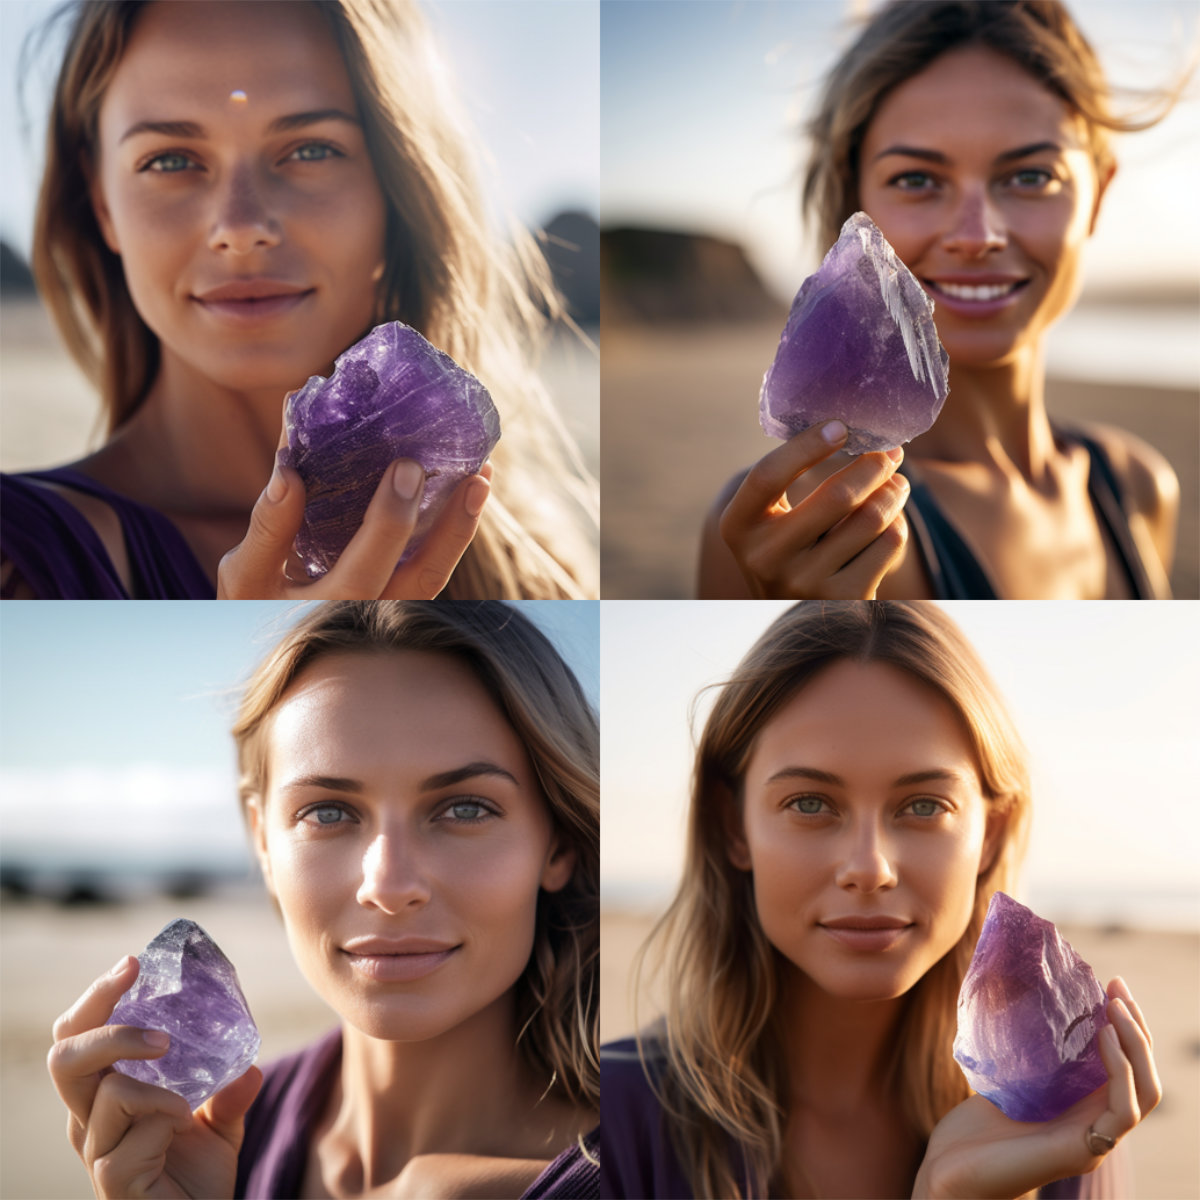
Create Multiple Prompts At Once With Permutation Prompts
Permutation prompt helps you generate multiple variations of prompts from a single prompt. Put the variations in curly brackets {} and separate each option with commas
For example, if you write:
sticker design of a {capybara, cute puppy}
Midjourney will process two separate prompts:
sticker design of a capybara
sticker design of a cute puppy
This also works for parameters as well, for example, if you want to compare the results of different versions of Midjourney, you can put this at the end of your prompt:
--{v4, v5.1, niji 5}
Describe Images To Generate Prompts
This is quite a powerful feature and can allow you to learn how to write more complex prompts quickly.
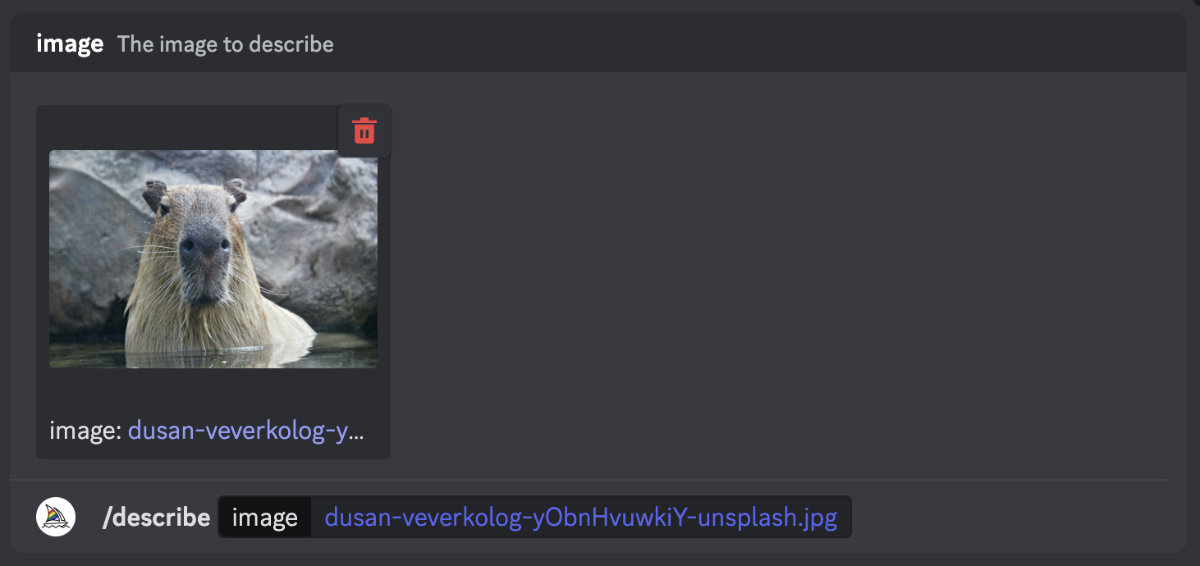
Use the /describe command, and upload an image to Midjoruney. Midjourney will then suggest 4 prompts that are highly related to the image. You can make adjustments to those prompts to generate images.

Blend Mode
This mode helps you blend 2-5 images into a new image. Type /blend and upload the images you want to blend.
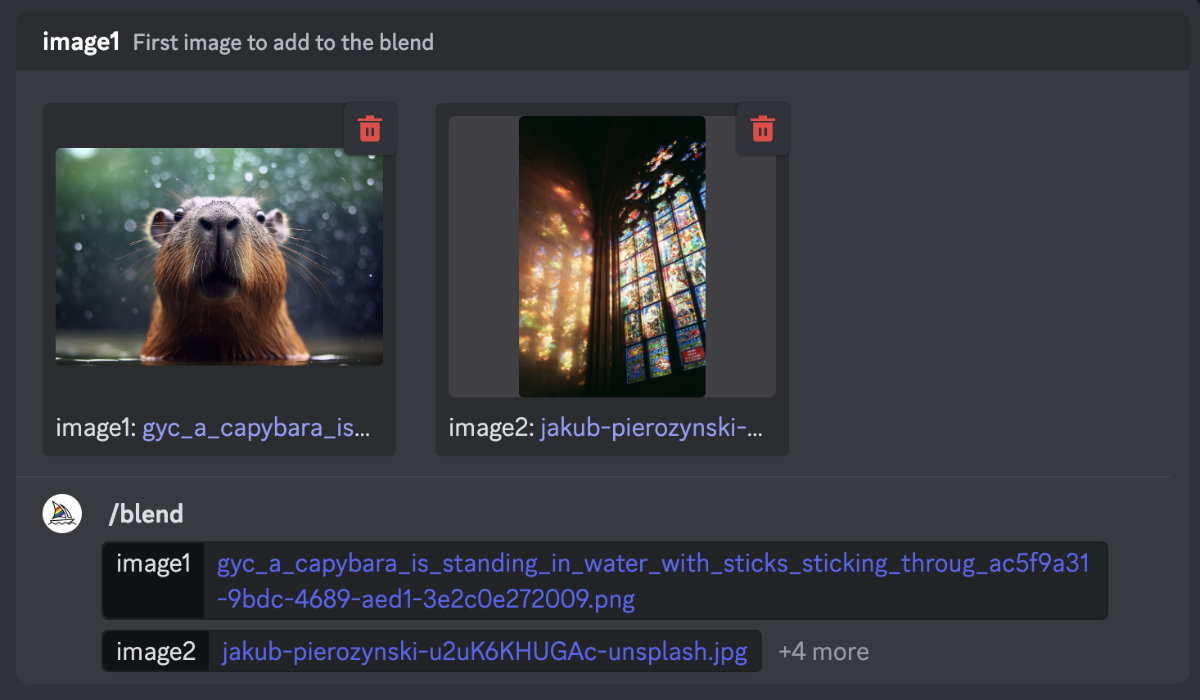
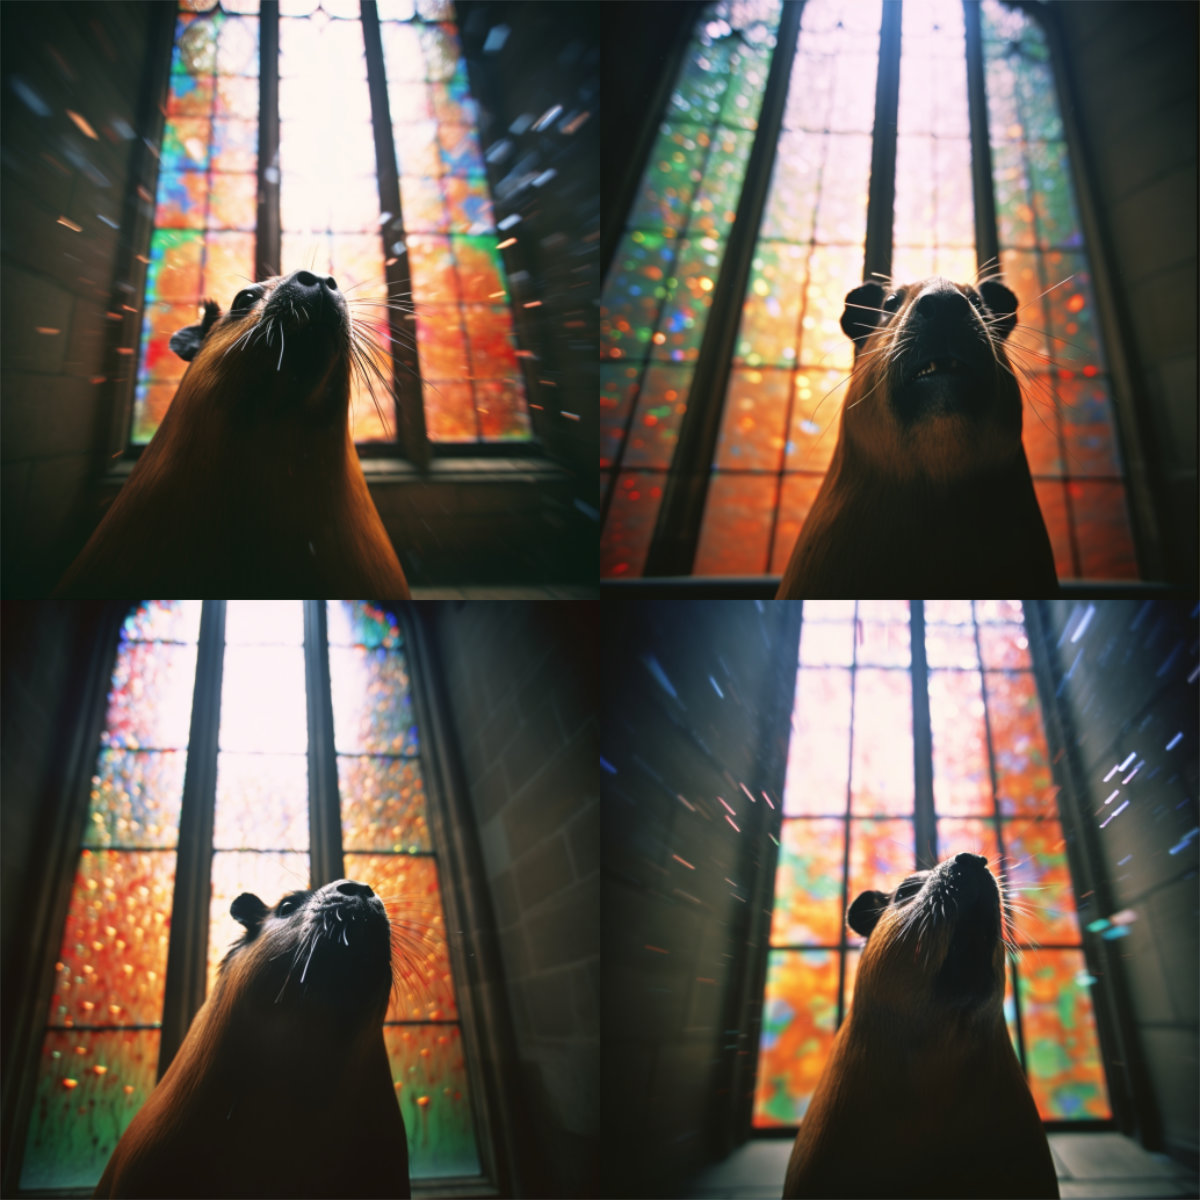
Image Prompts
Image prompt is another powerful prompting technique. It helps you generate images that are similar to the image you upload.
To use image as part of your prompt, type in /imagine and then paste in the image url, then type your text prompt and parameters.
To get the url of images on the internet, you can right click to ‘Copy image address’ to get the url in most cases.
You can also upload your own photo to use as the image prompt. Here's how you can do that:
- Upload the Image: Click the plus button on the left of the prompt box. Choose the image you want to upload.
- Copy the Image Address: Once the image is uploaded, click on it to expand it. Then, right-click on the image and select "Copy Image Address".
- Paste the Image Address in the Prompt: After typing /describe , paste in the image url and then your prompt. Midjourney will now use the image as a reference when generating prompts.
To change how much the final generated image is influenced by the image portion of your prompt vs the text portion, use the image weight parameter: --iw
You can use this to turn your own sketches into different artworks by taking a photo and upload it to Midjourney.
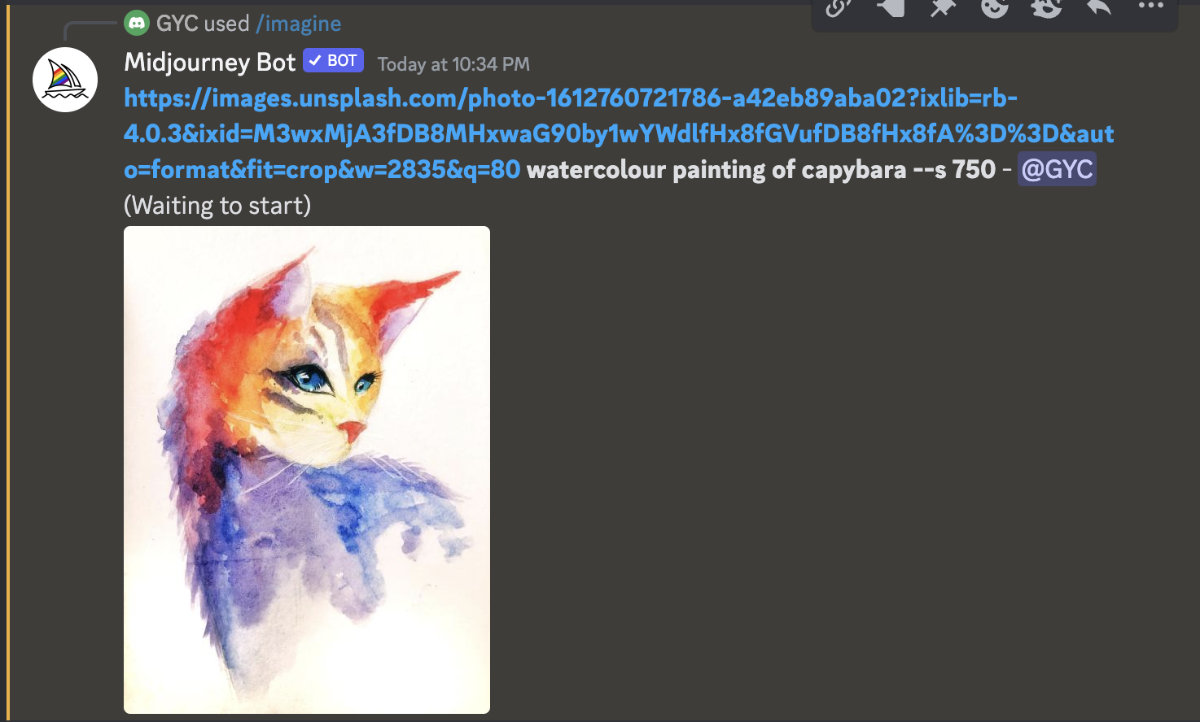
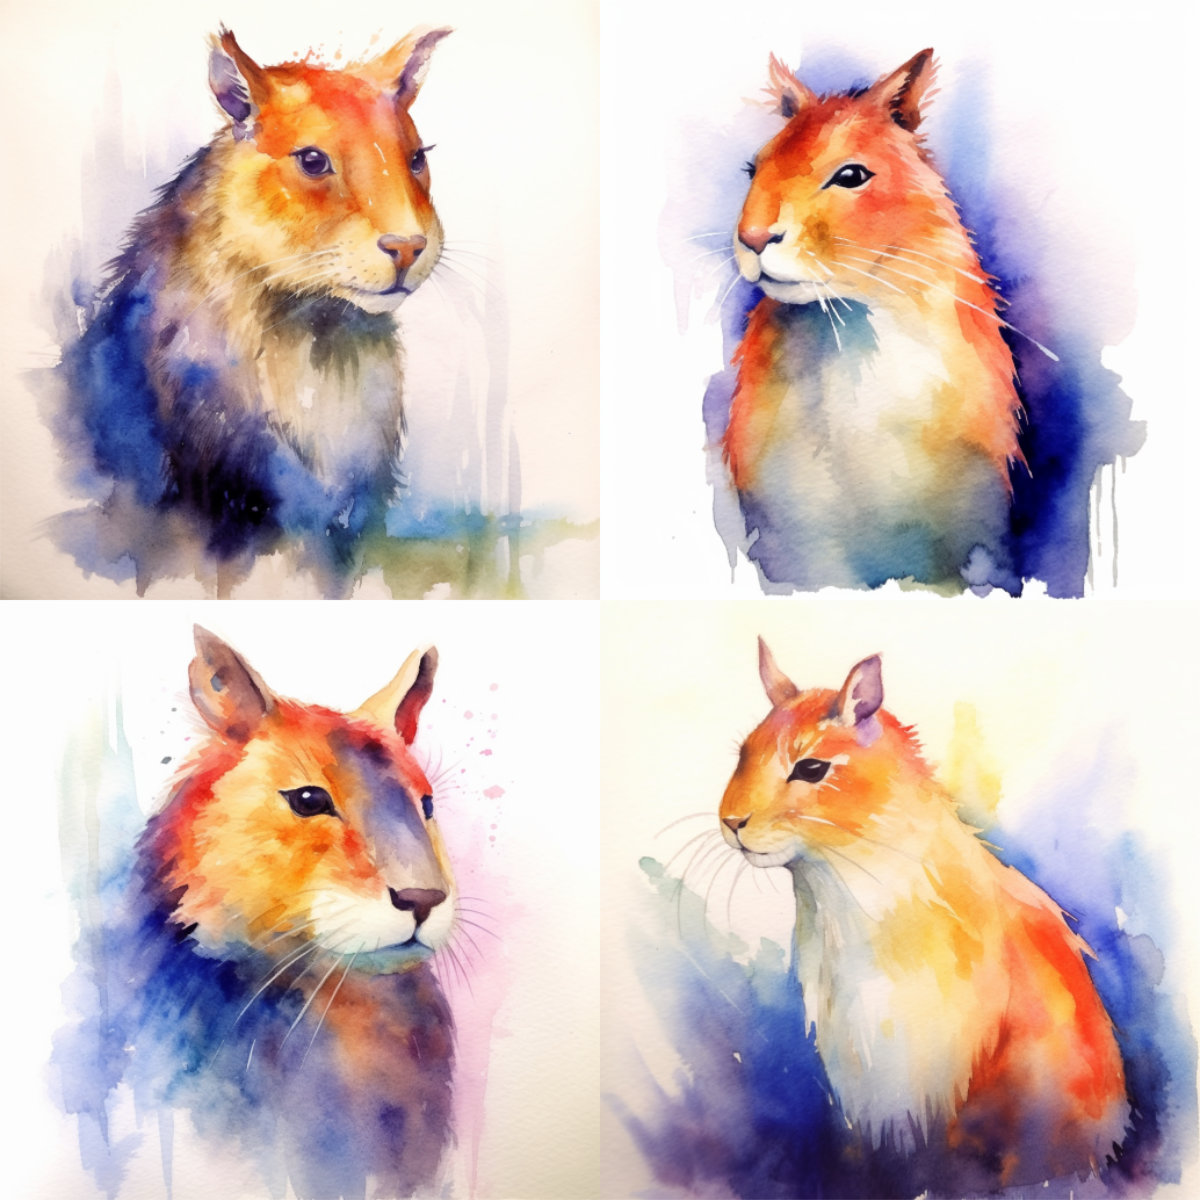
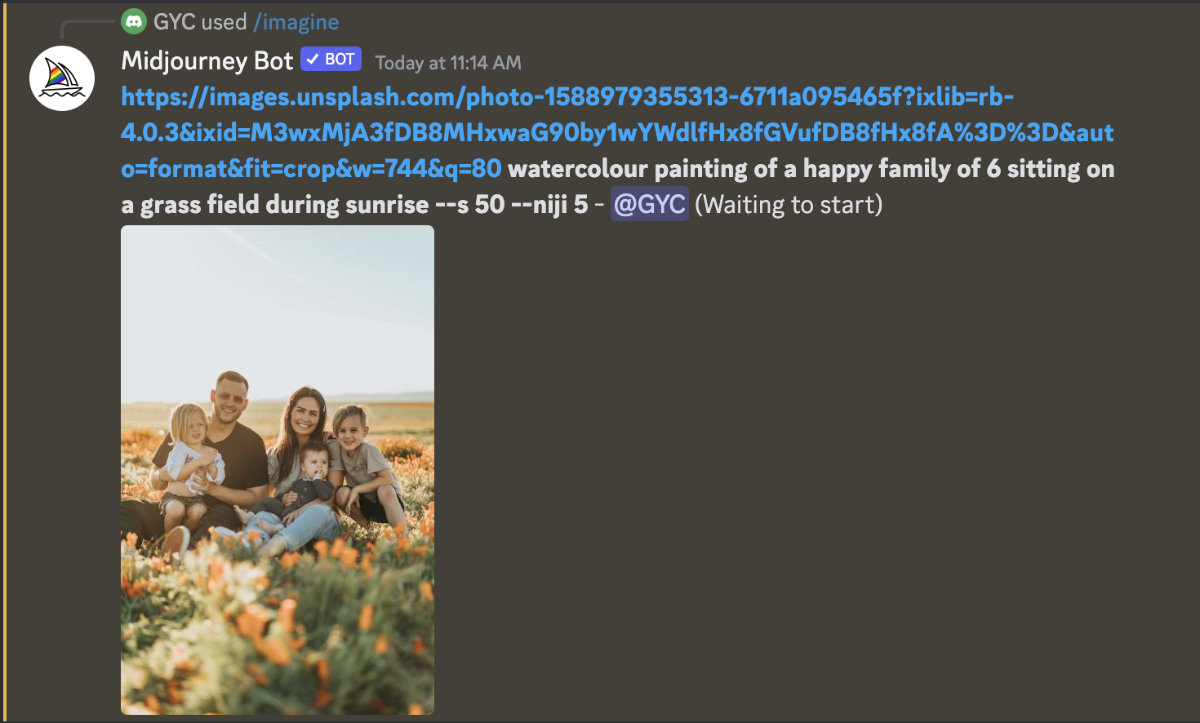
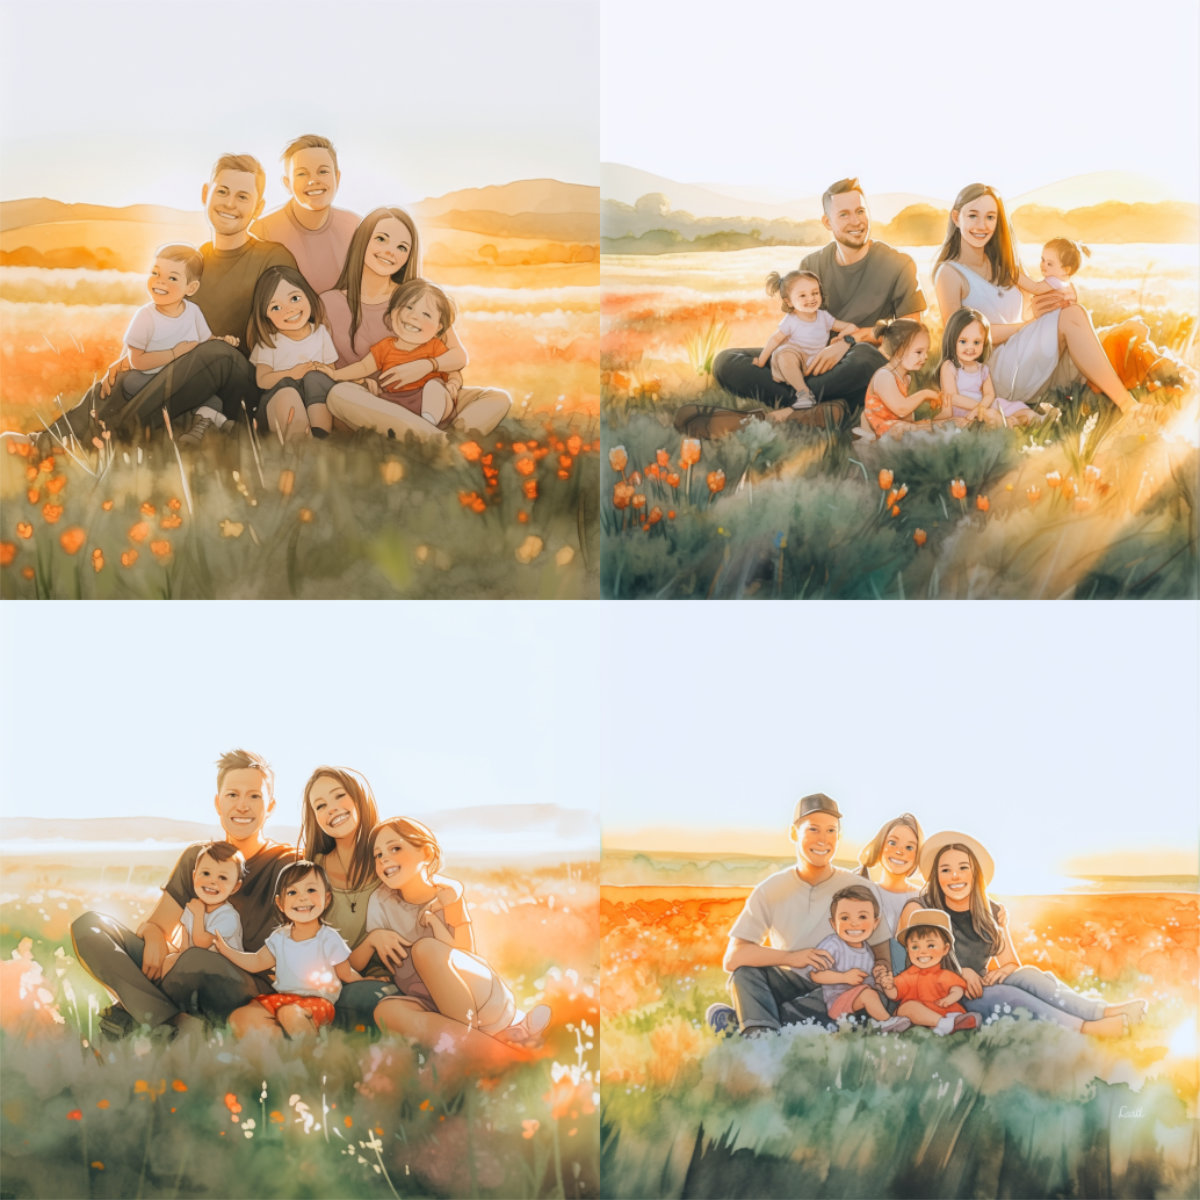
You may be thinking that you can upload a real life photo and turn it into a customised artwork, like a watercolour painting. But I've tested it and the results are not perfect. Midjourney is not very good at keeping the same people from the photo into the generated images:
Specify Colour
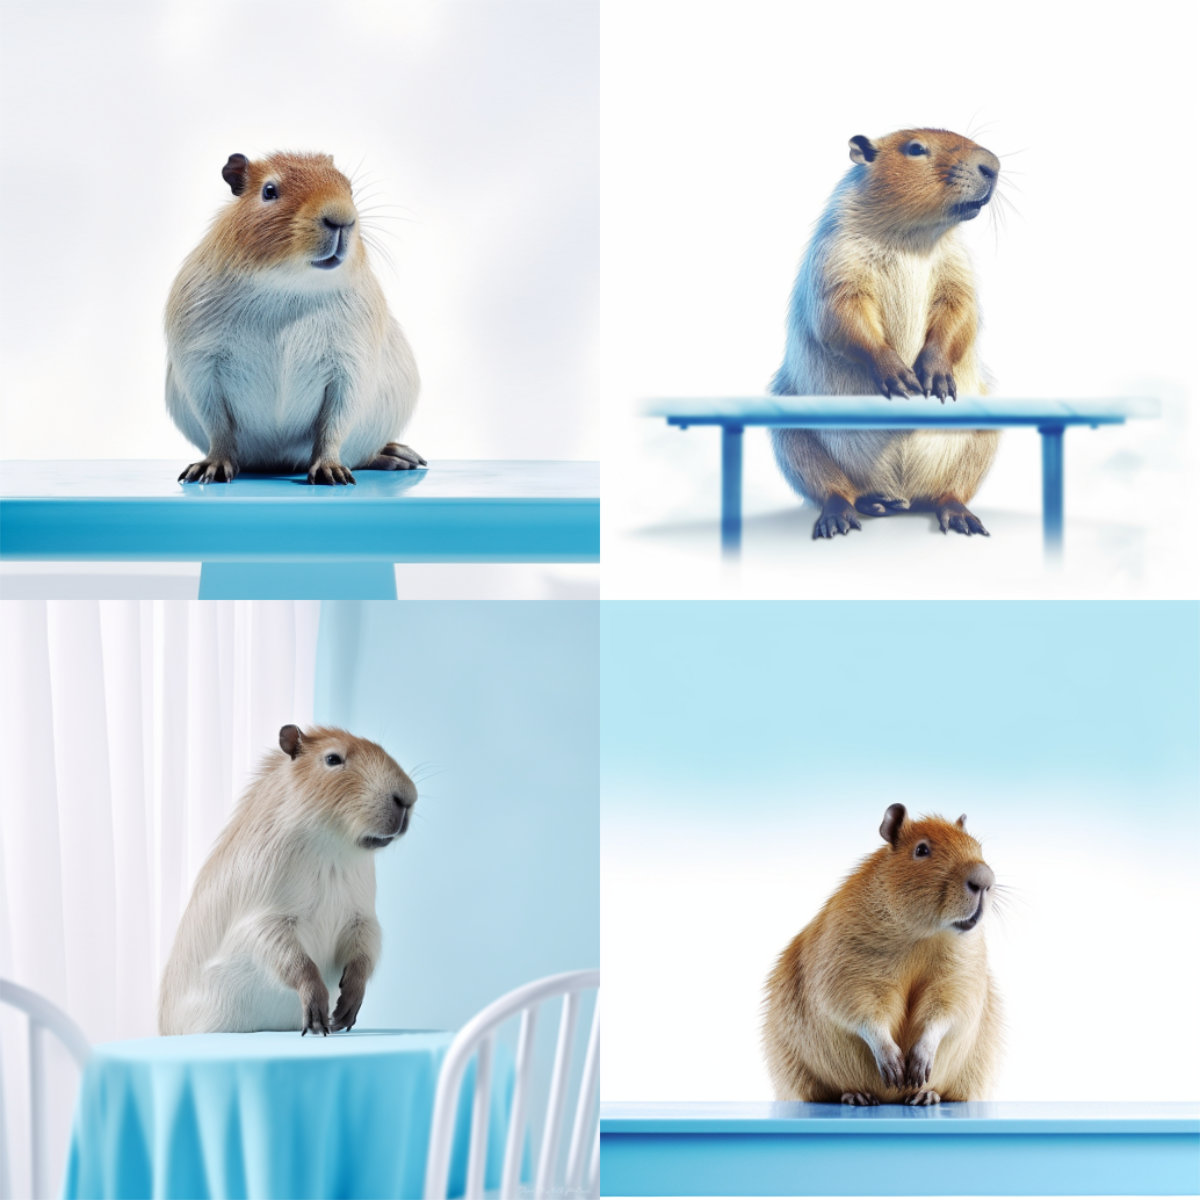
Sometimes, you may want an object to be a certain colour. You can do that by specifying a colour (e.g. on an orange table), or give a specific colour code (e.g. on a orange hex #xxxxxx table).
Word Weight
If a particular part of your prompt is important, add ::2 to the end of that part. It also works for negative numbers if you want less of something in the generated image ::-1