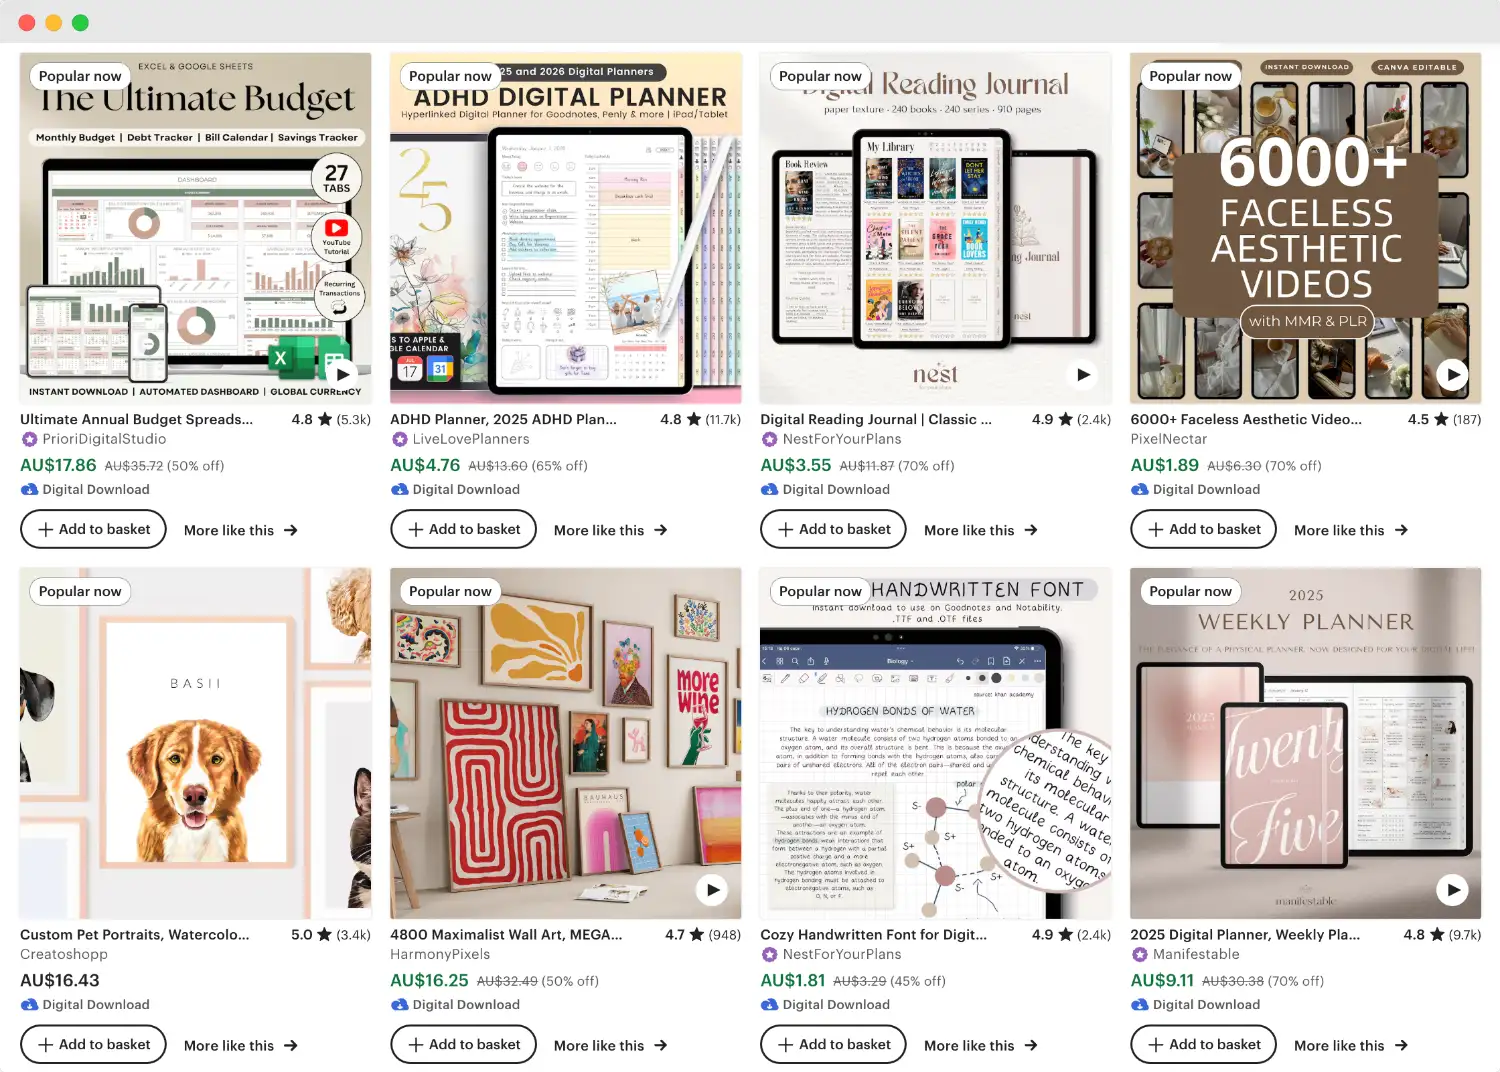
Making a great first impression on Etsy is all about your product photos. They catch the attention of shoppers and communicate the value of the product at one glance. They also help potential buyers decide whether to click on your listing or move on.
With digital products, it can feel tricky to create eye-catching images because you don’t have a physical item to photograph. That’s where mockup photos come in.
With my experience of specialising in selling digital products on Etsy, I’ve written this article to walk you through step-by-step of how to create your own realistic and unique mockup photos for your digital products, so that you can improve your views and sales on Etsy.
Let’s get started.
Why Use Mockup Photos For Digital Products
Mockup photos allow you to present your digital designs in a realistic environment, making it easier for customers to visualise how the product will look in their daily lives. Not only can this make your design more attractive, it also helps potential buyers can see the actual, practical application of your designs without needing to imagine it themselves.
Other than that, professional mockup photos can also boost your click-through rates on Etsy. High-quality, unique images catch the eye and convey the quality of your work, which encourages more people to click on your listings.
Tools To Make Mockup Photos With
Canva
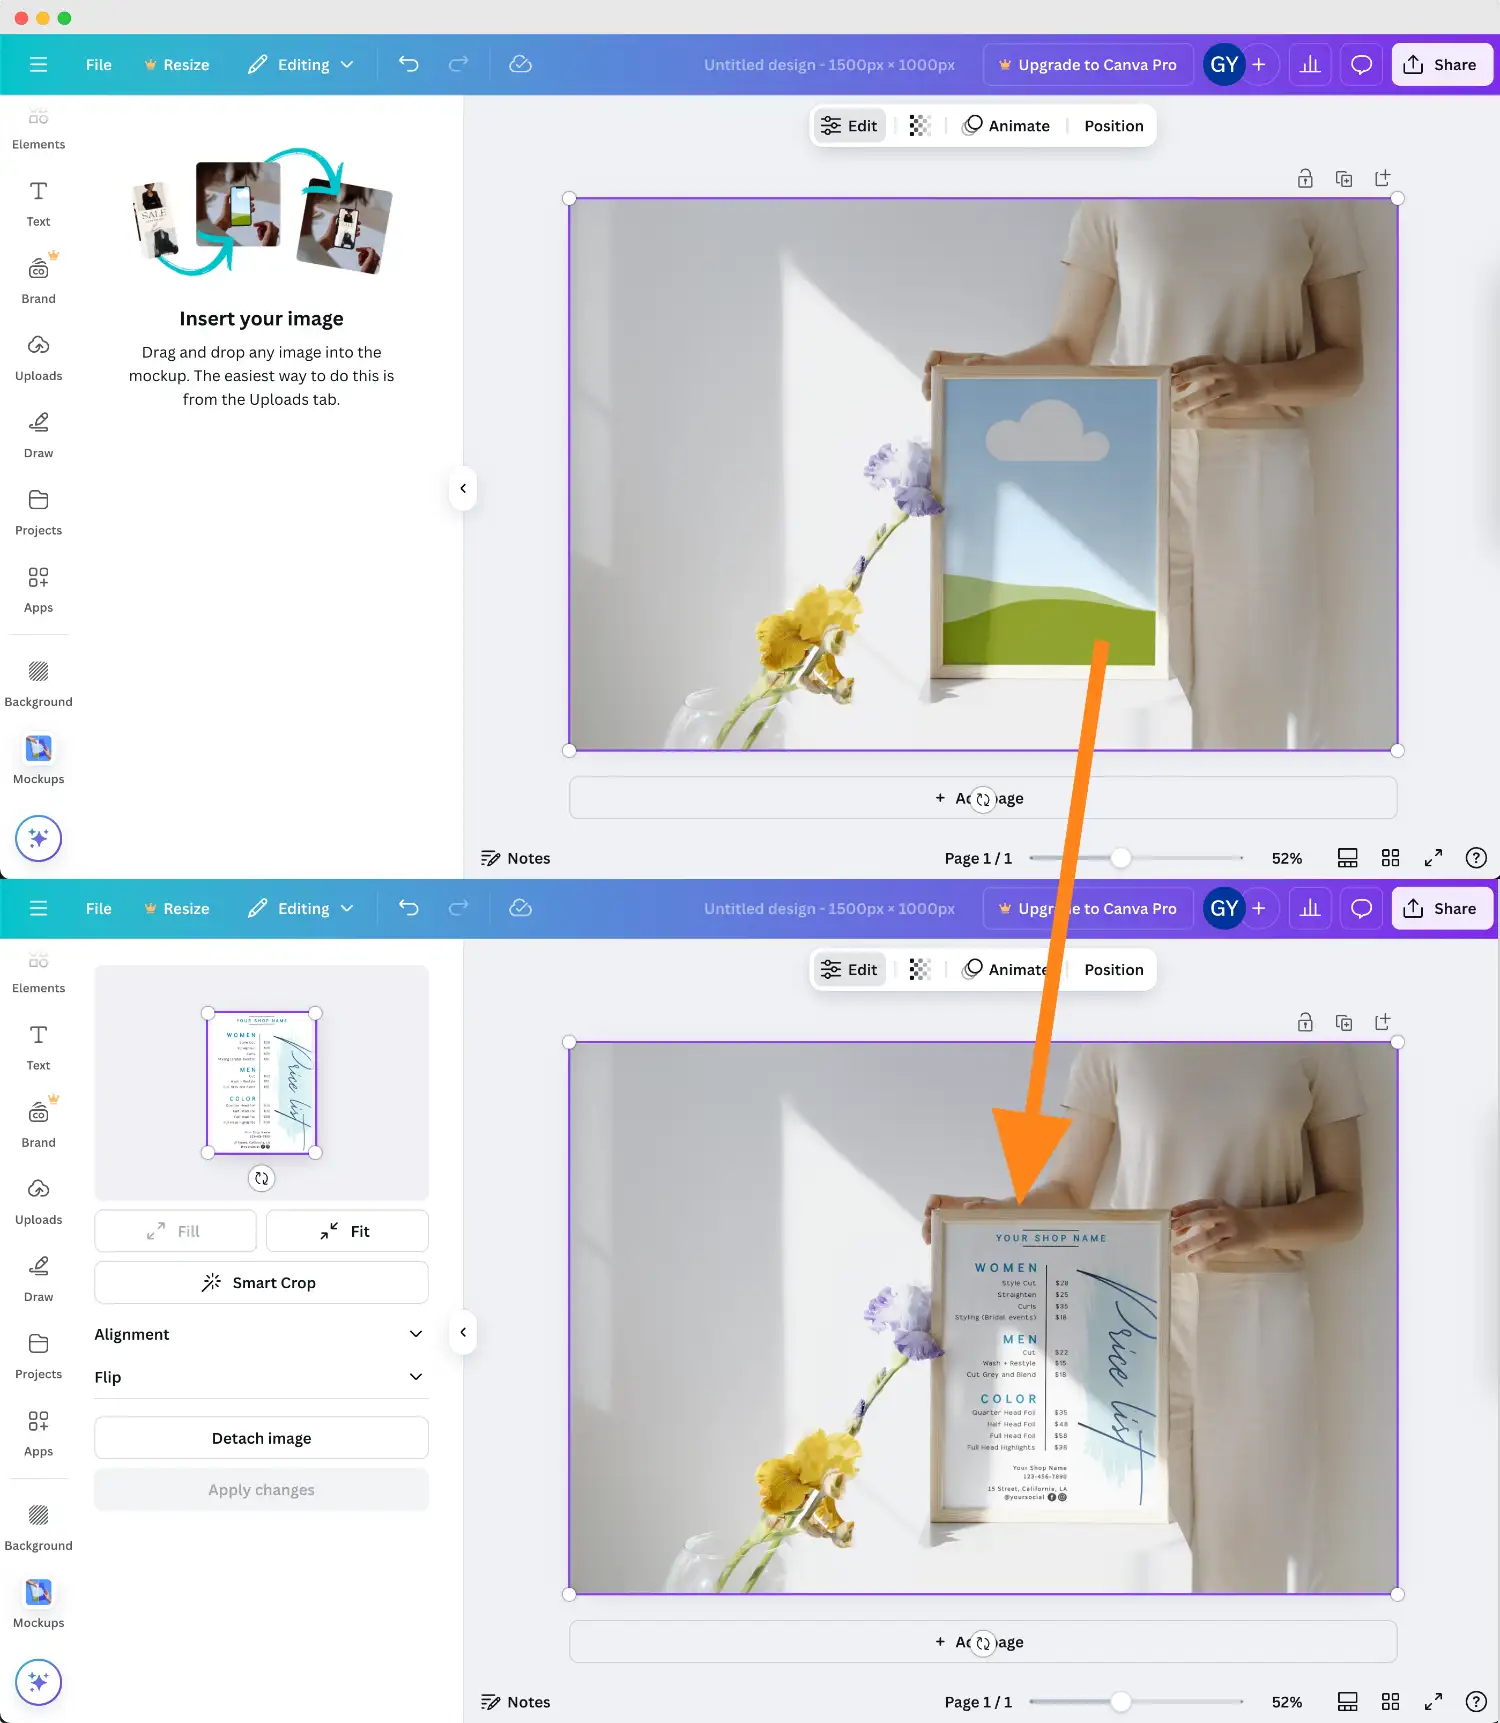
Canva is a widely popular online design tool that offers some product mockups to help you showcase your digital products. When you are on Canva, click ‘Apps’ on the left-hand side menu and search ‘mockup’. There you will see a few apps that can help you create mockup photos. I usually choose the “Mockups” app which is created by Canva.
Once you clicked into it, you’ll see a selection of mockup photo scenes. Just like dragging in a photo into a frame on Canva, you can just drag in your design onto the mockup photo and it will be integrated into mockup:
However, Canva does have some limitations. The selection of mockup templates is quite small, and many of the mockups are fixed in their layouts, which means you can’t customise individual elements to suit your specific needs. This results in your product photos looking similar to other sellers’ who use the same templates, which leads to lower clicks and conversion. Also, the categorisation of mockups is pretty simplistic, which makes it challenging to find the template you want for your particular product.
Placeit
Placeit is another popular tool for creating mockup photos, known for its relatively big library of templates. It excels particularly in categories like apparel (like t-shirt, hoodies, etc), phone screens, and printed products (like posters, business cards, etc.).
Despite its bigger selection compared to Canva, Placeit still isn’t perfect for everyone. Certain product categories are pretty underrepresented, for example, niches like product labels and other packaging mockups. Also, just like Canva, Placeit doesn’t provide limited customisation options within the template which makes it hard to create unique, personalised product photos for your shop to stand out.

Artboard Studio
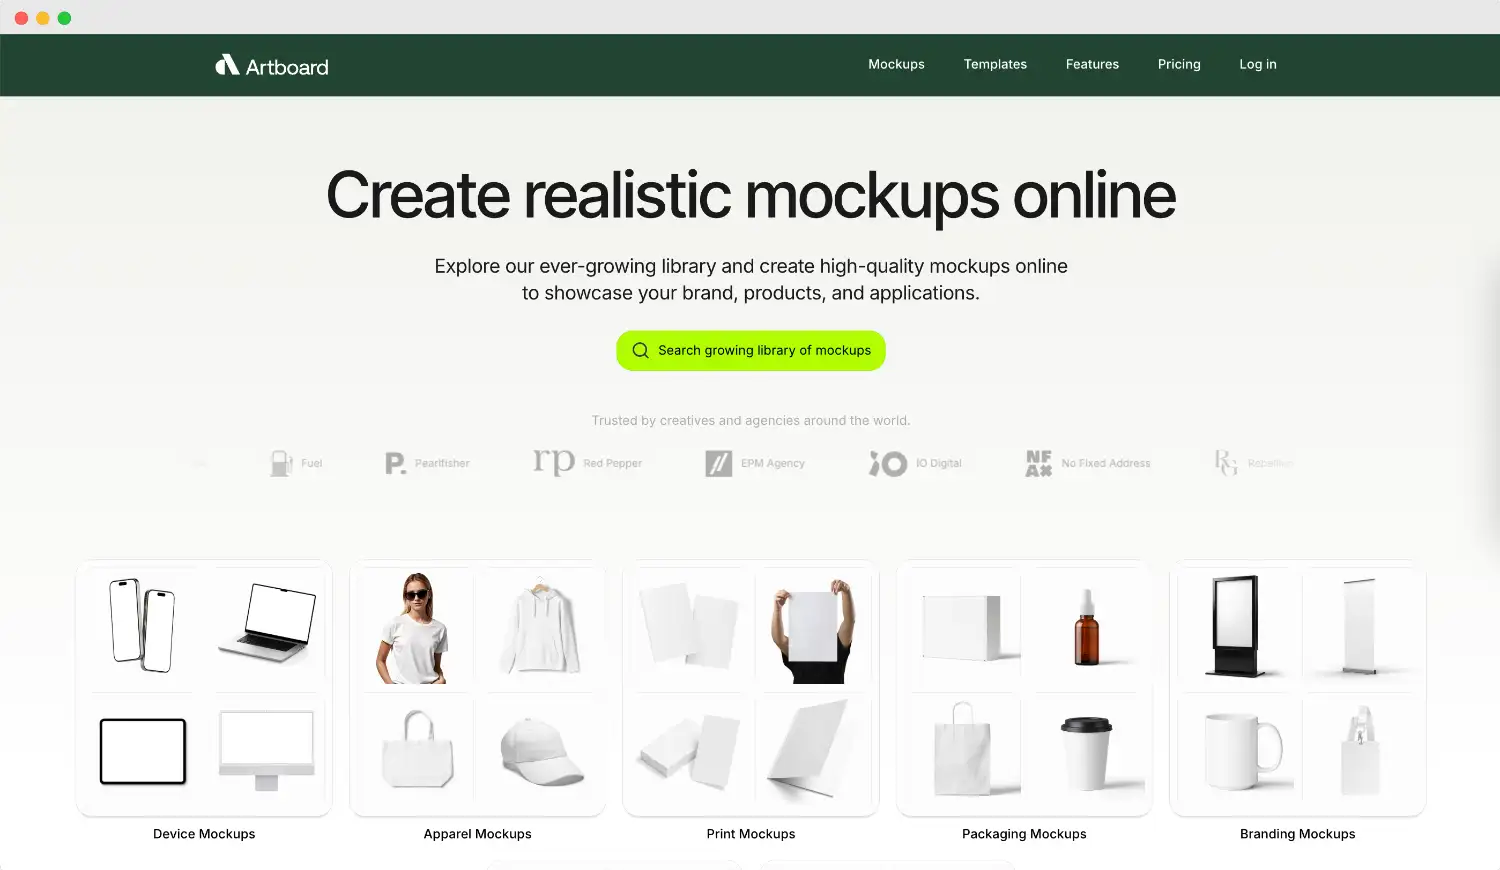
And that brings us to Artboard Studio, which is the tool that I use personally to create all the mockup photos for my Etsy shop. In my opinion, its biggest strength is the ability to customise a scene with a huge selection of mockup elements.
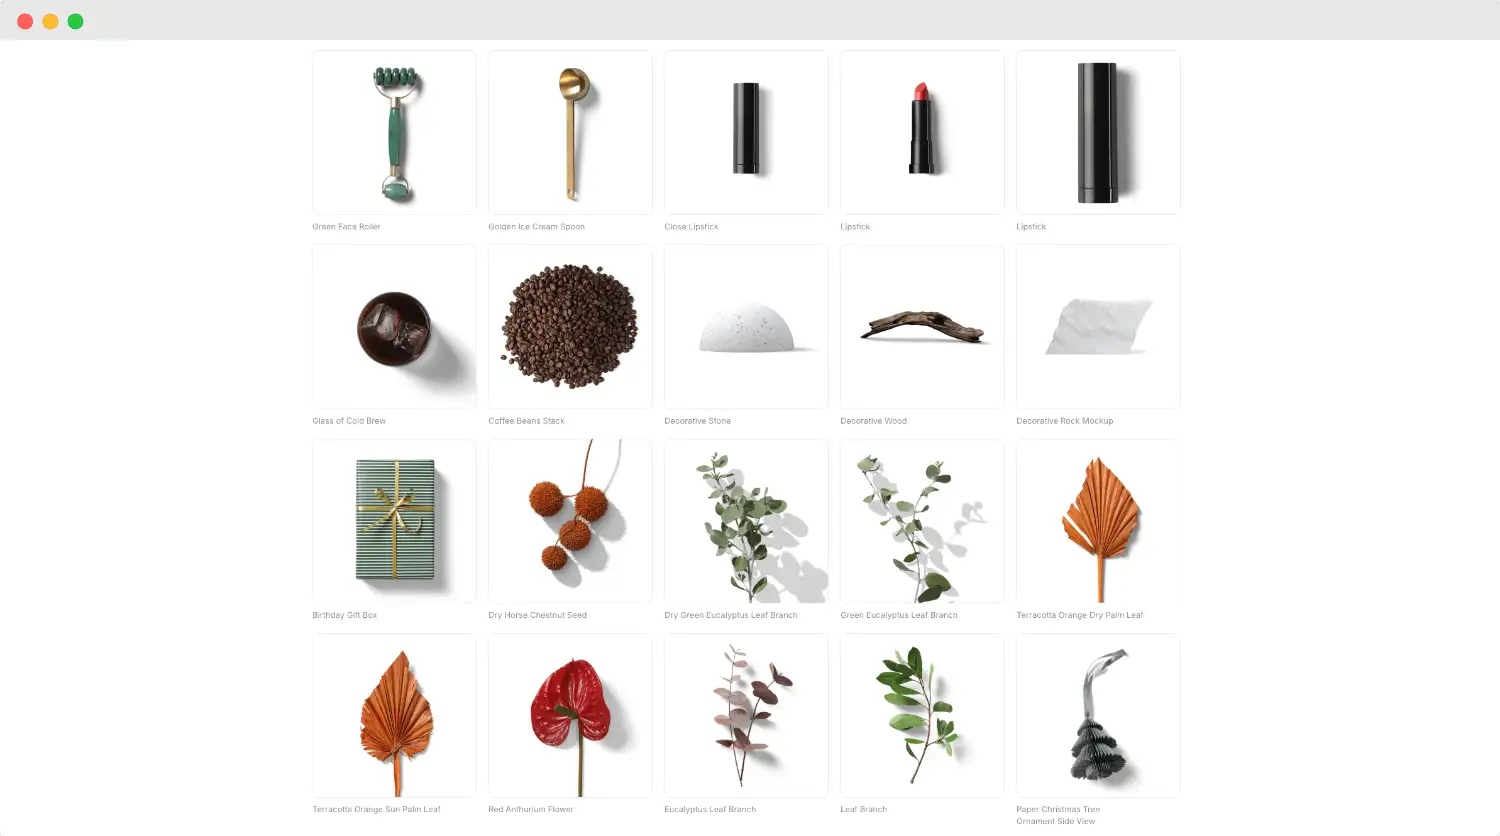
You’ll find not only product mockup elements, but also props that you can use to create a completely unique scene for your mockup photo. The mockup categorisation is also more detailed than the other two options which makes it easier to find what you need.
In this next part, I’ll take you through step-by-step of creating your own mockup photo using Artboard Studio.
How To Create Realistic Mockup Photos For Digital Products
After you created a free account on Artboard Studio, you can either pick from a pre-made template or build from scratch with a blank canvas. A lot of the pre-made templates are fully customisable, allowing you to move or delete elements as well as add new ones.
For this example, let's create a mockup product photo for my dropper bottle label designs using this template:
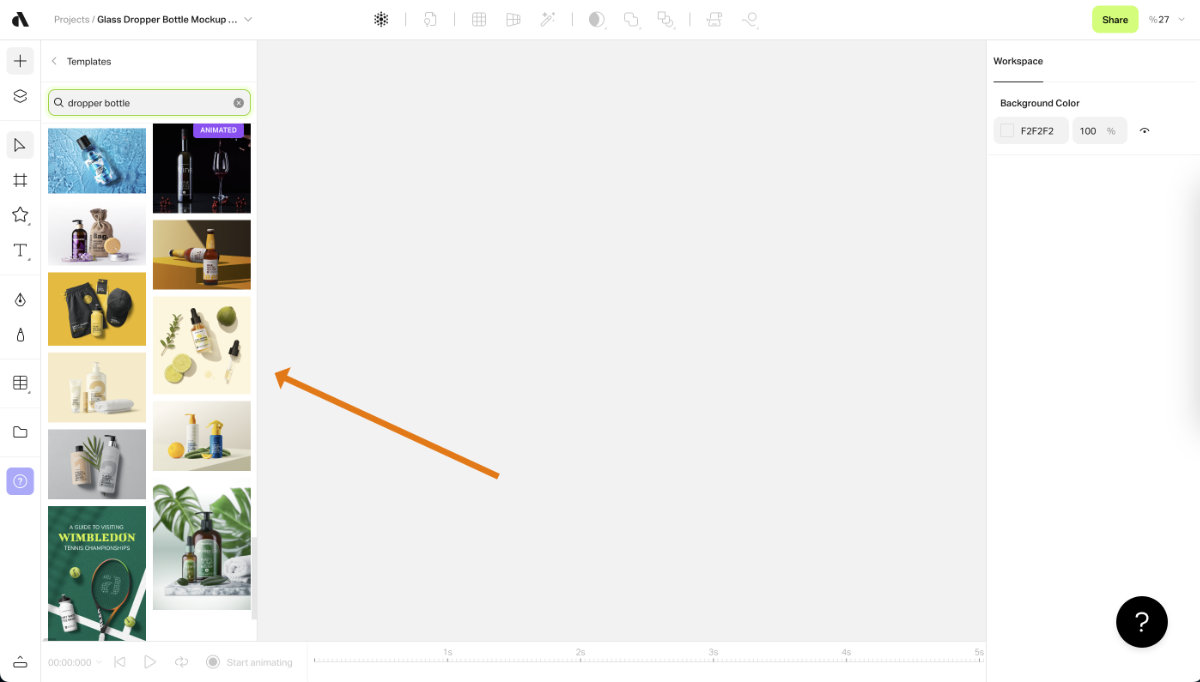
Once you clicked on the design, it will appear as a new artboard in your workspace. And below the template you can see the location where you can replace the design with your own design:
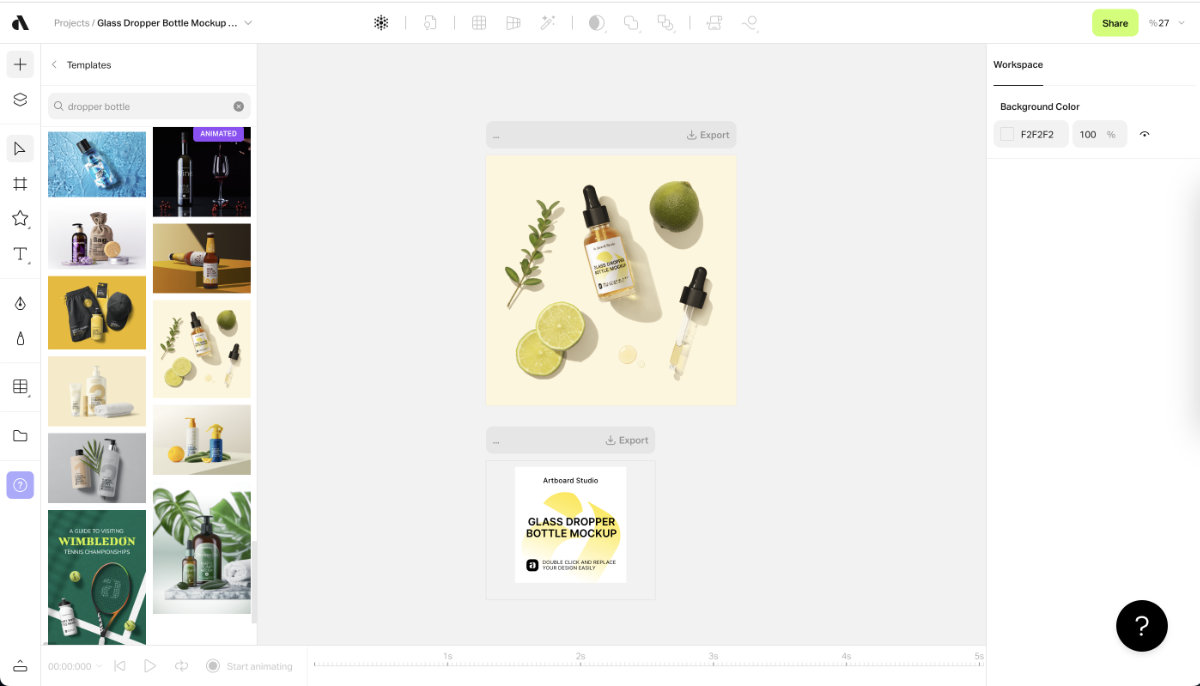
First, we will delete their original label design, and then drag in your own label design:

Now, resize the label by dragging the corner and adjust the placement until it looks right in the mockup photo above:
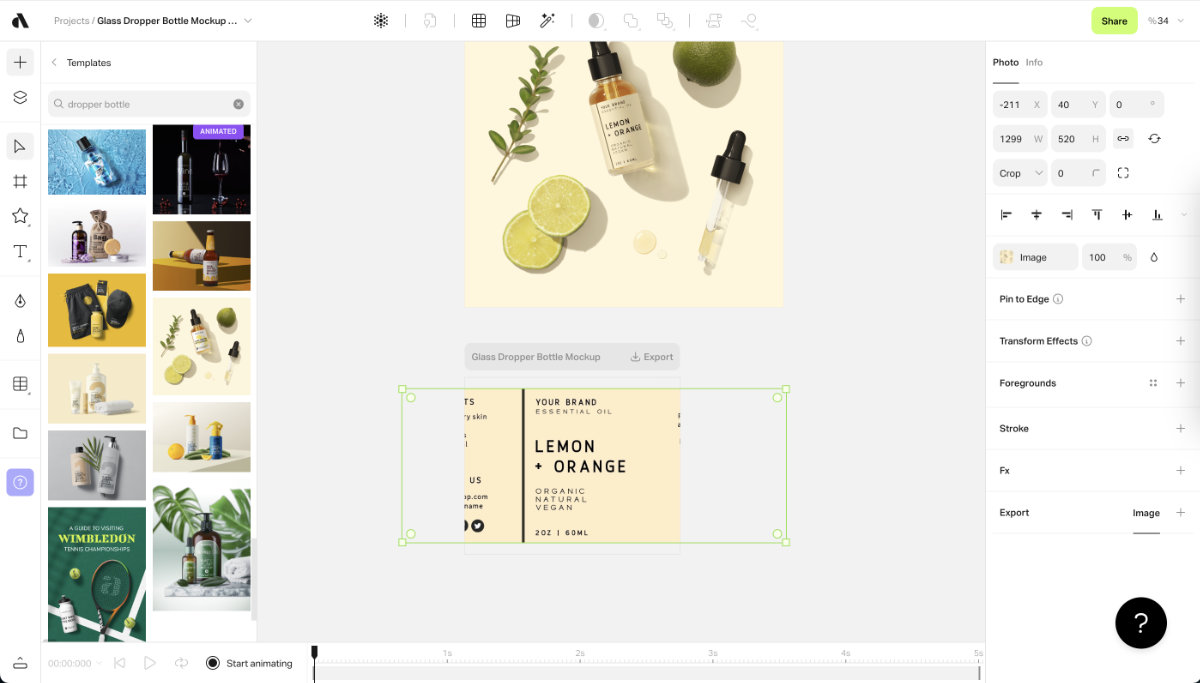
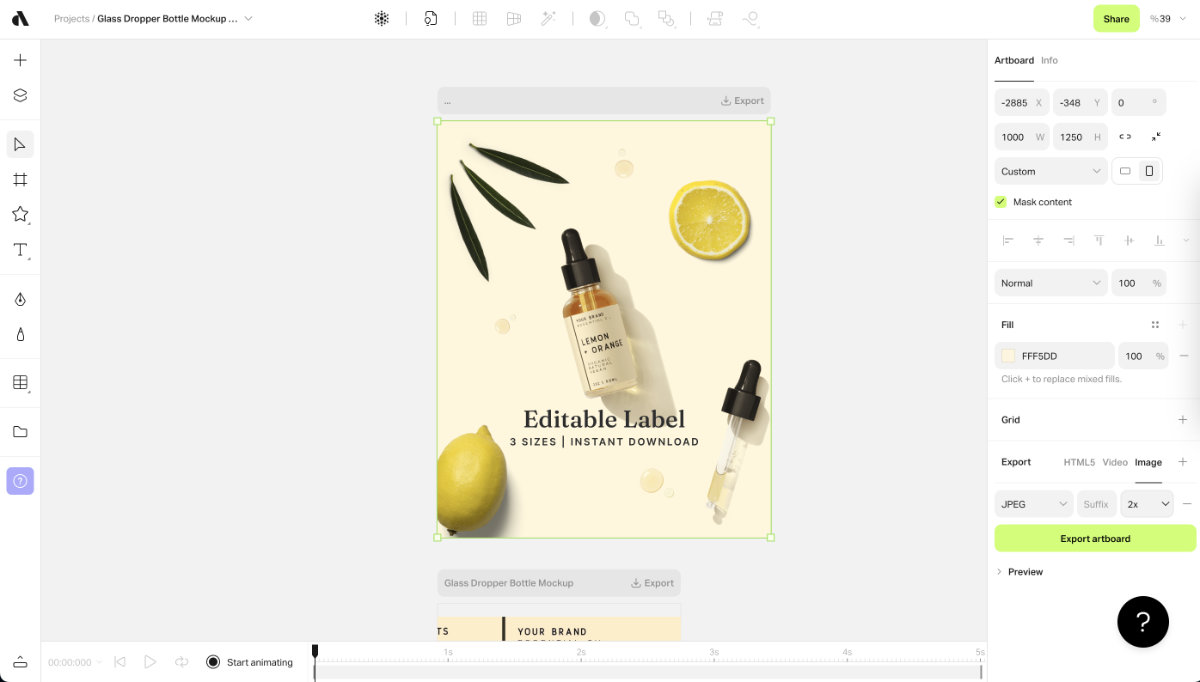
I use listing photo size that is 4 x 5 in aspect ratio, as I can use it in both on Etsy and on social media without resizing. To do that, click the artboard (by clicking the grey bar above the photo) and change the Width and Height. I chose 1000px width and 1250 height:

One of the great things about Artboard Studio is that I can add in extra props to create a unique photo. For this particular label design with the text "lemon and orange", I'm going to search for "lemon" in the mockup element library.
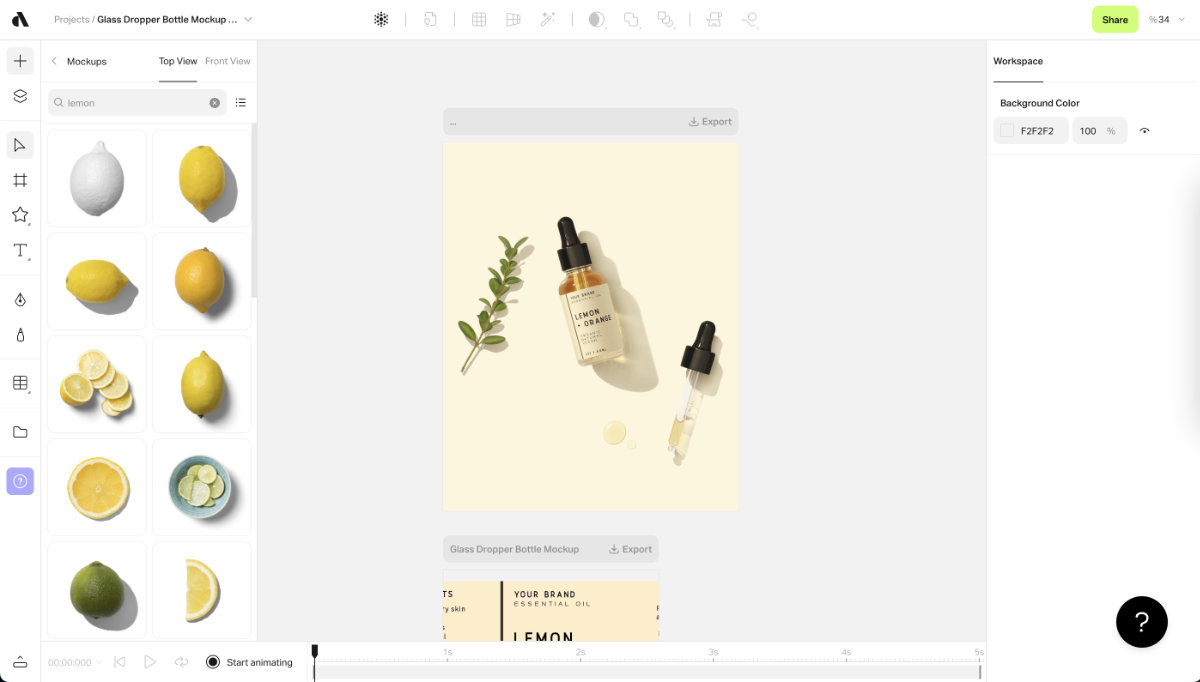
After dragging in the prop element that you like, the mockup photo becomes something like this. You can further adjust the photo by moving, resizing, adding and deleting elements.

One thing I like to add to my Etsy listing photo is text. To do that, click the "T" symbol on the left and type in the text you'd like to add. I recommend adding your strongest product benefit as the main text and some supplementary information as smaller text below that. Change the font and size to fit your brand:
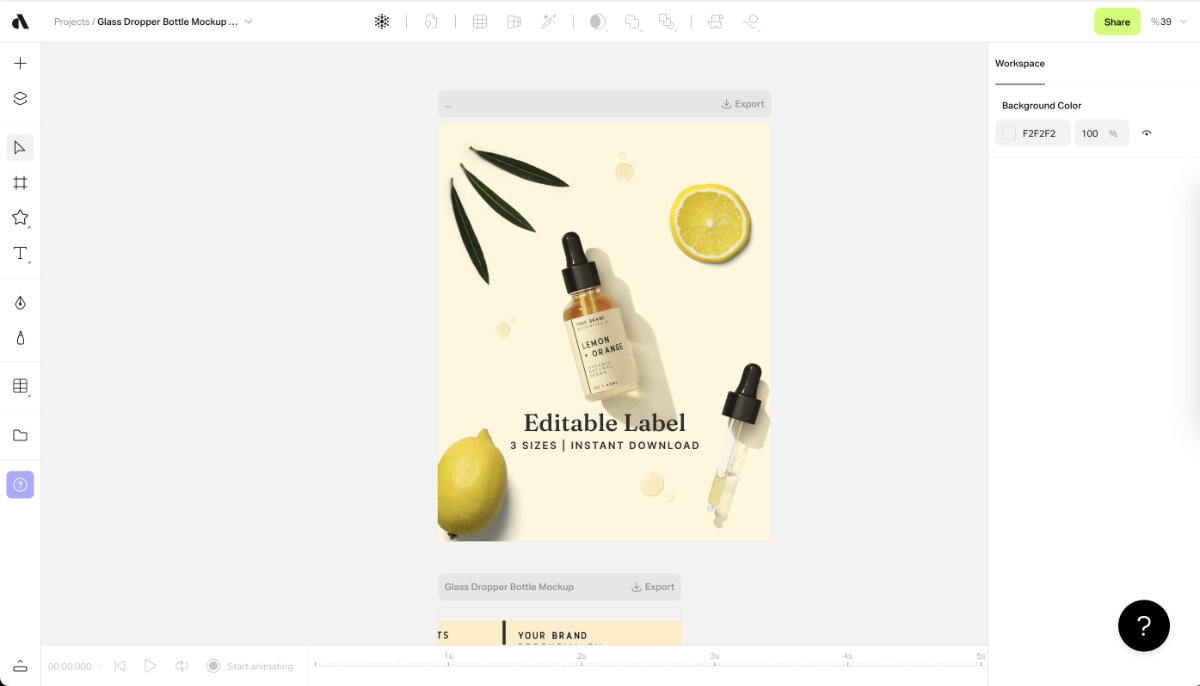
Now that the mockup photo is finished, let's export it to use it as the listing photo. Click the grey bar above the artboard where your mockup is. Then on the right, click "+" symbol in the export section. Choose 2x so that the size of the photo will be double, which means in our example, the final size of the image will be 2000px wide x 2500px tall, which fits Etsy's recommendation of listing photo size.
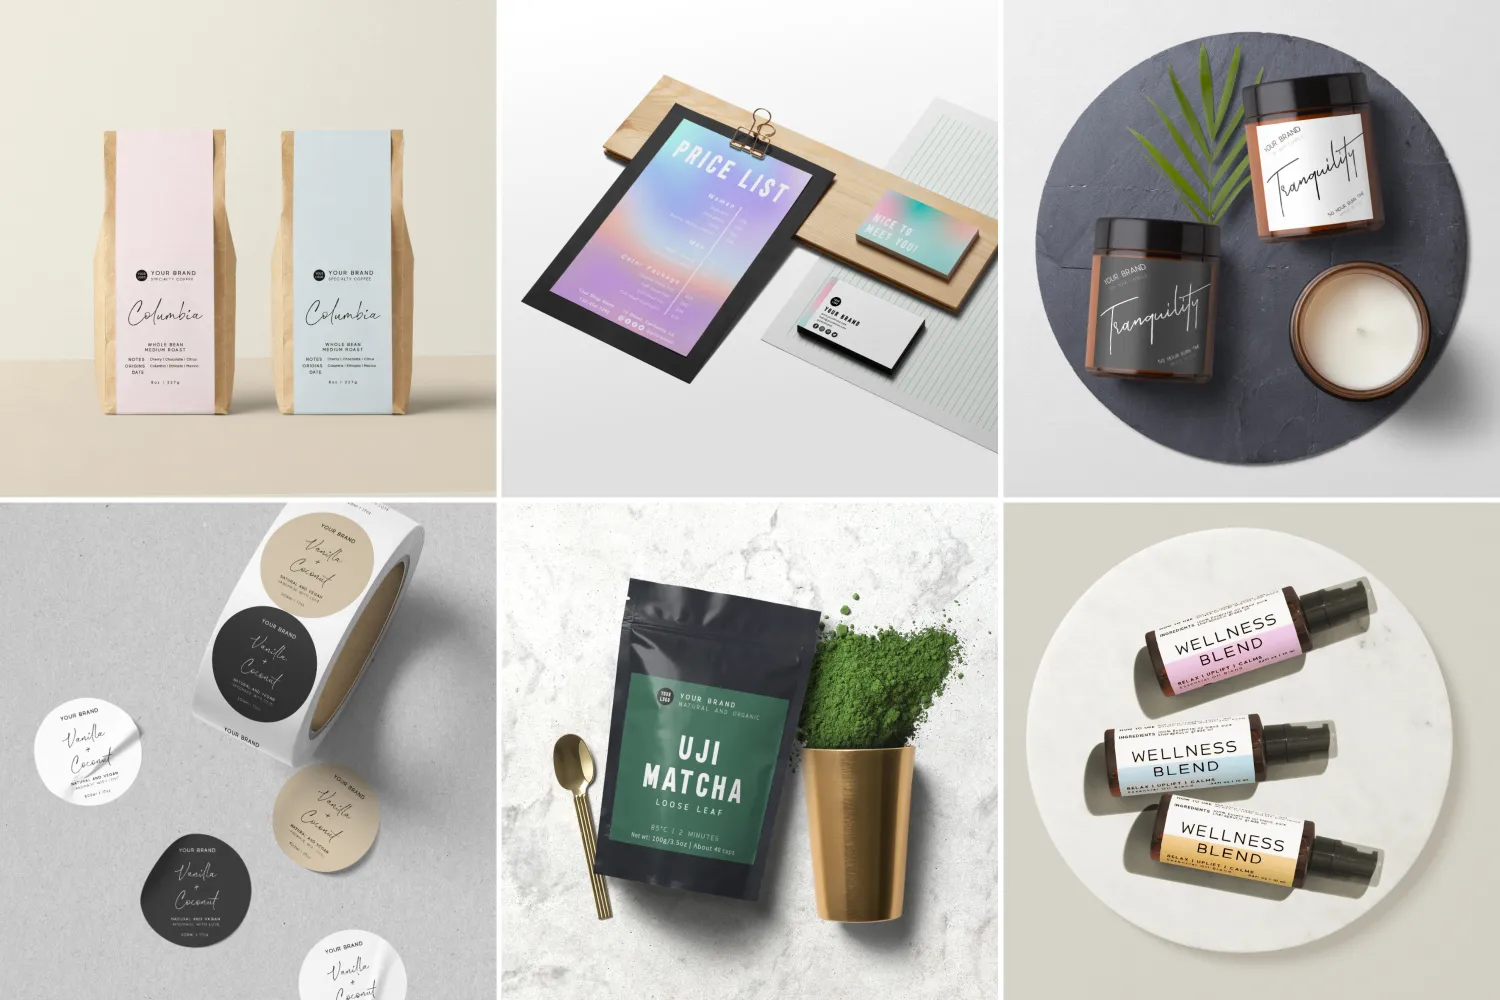
Other than the example above, here are some other mockup photos I've created using the tool:
What’s Next
Now that you have a practical way to create realistic mockup photos for your digital products, you’re ready to look at other parts of running your digital product Etsy shop. Here are some of my other articles for you:
- A Complete Guide: How To Sell Canva Templates On Etsy To Make Extra Income
- How To Sell Editable Digital Templates On Etsy Using Corjl (Alternative to Canva)


